

Introduction to Workspaces
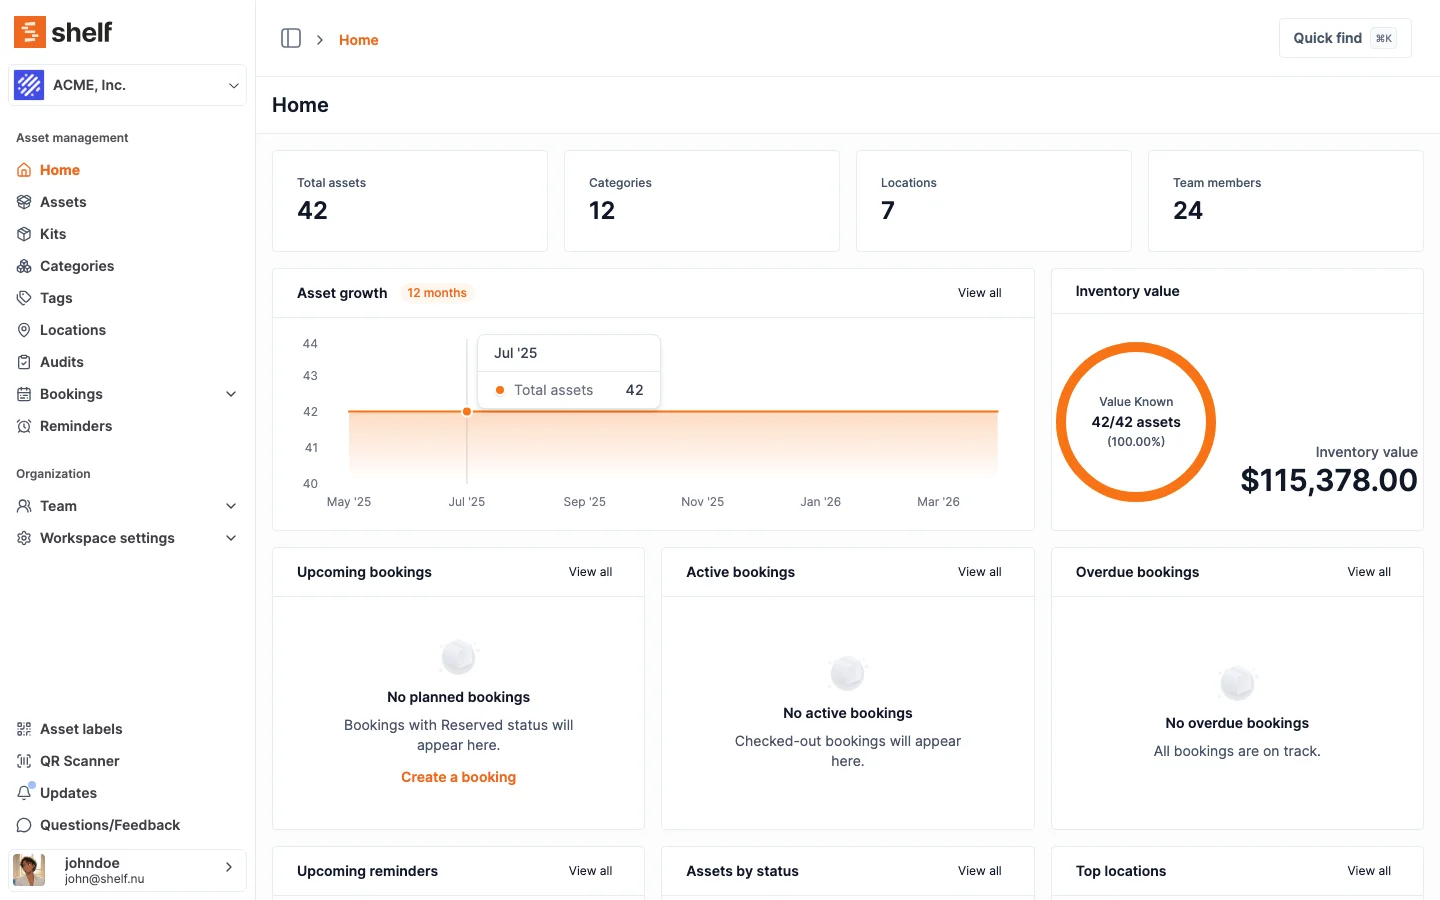
With Shelf Workspaces, you can link multiple teams or departments and have one Shelf account for your entire organization.

Your Personal Workspace
Every Shelf account comes with a Personal workspace. Even if you got invited to a workspace by someone from your team you will still have your very own workspace to work in.
A Personal workspace holds exactly one person. You cannot invite registered users to it, and Bookings are not available in it — both are Team-workspace features. Assets, kits, locations, custody, QR labels, and non-registered members all work normally. In Settings → Team, a Personal workspace shows Users and Pending invites locked, with an explanation and a button that takes you to the right next step for your account. Full detail, including what that button says and why: Why You Can't Invite Anyone to a Personal Workspace.
Creating a Team workspace does not convert your Personal one — the Team workspace is created alongside it and you keep both.
Note for SSO users: If you sign in via Single Sign-On (SSO), your personal workspace is hidden. You only see the team workspaces your administrator has assigned to you. If you don't see any workspaces, contact your IT administrator — they may need to assign you to a workspace group.
How to Create a Plus or Team Workspace
In order to create a new workspace you will have to upgrade your account with a Plus or Team subscription.
Steps:
- Log into the Shelf account that you want to upgrade
- Open the menu under your name and choose Subscriptions
- Choose the subscription that fits your needs
- Continue with payment
- A message will state that you have successfully upgraded your account
Plus Workspaces
A workspace upgraded with a Plus subscription unlocks features like Unlimited custom fields, Asset Import/Export, Bookings and more. After purchasing, a new Plus workspace is created and owned by you, while your Personal workspace remains. Currently, owning more than 2 workspaces requires contacting sales.
Team Workspaces
A workspace upgraded with a Team subscription allows you to invite users as team members. Team workspaces unlock all Plus features plus team collaboration capabilities. Similar to Plus, a new Team workspace is created upon purchase, and owning more than 2 workspaces requires sales contact.
Which Plan Is a Workspace On?
A workspace's plan comes from its owner's subscription, and everyone in the workspace gets its features. If you are an Administrator, Self-service or Base user in a Team workspace, you do not need a subscription of your own.
To check, open the menu under your name and choose Subscriptions. The Your workspaces' plans table lists every workspace you belong to, with its Plan (Free, Plus, Team, or Custom/Enterprise), Your role, and Paid by. If you sign in through SSO, your personal workspace is left out, as it is everywhere else in Shelf. The workspace you have open is marked Current. A free workspace reads No one under Paid by. For other people's workspaces you see only the plan name and the owner's name, never their prices, invoices or add-ons.
Below the table, Billed to you lists only what you pay for yourself.
Switching Workspaces
Easily switch between workspaces by using the top dropdown in the side navigation bar, enabling swift movement between workspaces you have access to.
Moving Assets Between Workspaces
Assets live in one workspace at a time, but you can copy them into another one with a CSV round trip:
- In the source workspace, select the assets on the Assets index and click Export selection
- Choose the Import-ready format and download the file
- Switch to the destination workspace and go to Assets → Import
- Upload the file
The importer recreates categories, tags, locations, custodians, asset models, kits, and custom fields by name, so nothing has to be set up in advance. QR IDs stay behind with the original workspace (the destination issues fresh ones) and asset images need to be re-added. Full details: Exporting Data from Shelf.
Edit a Workspace That You Own
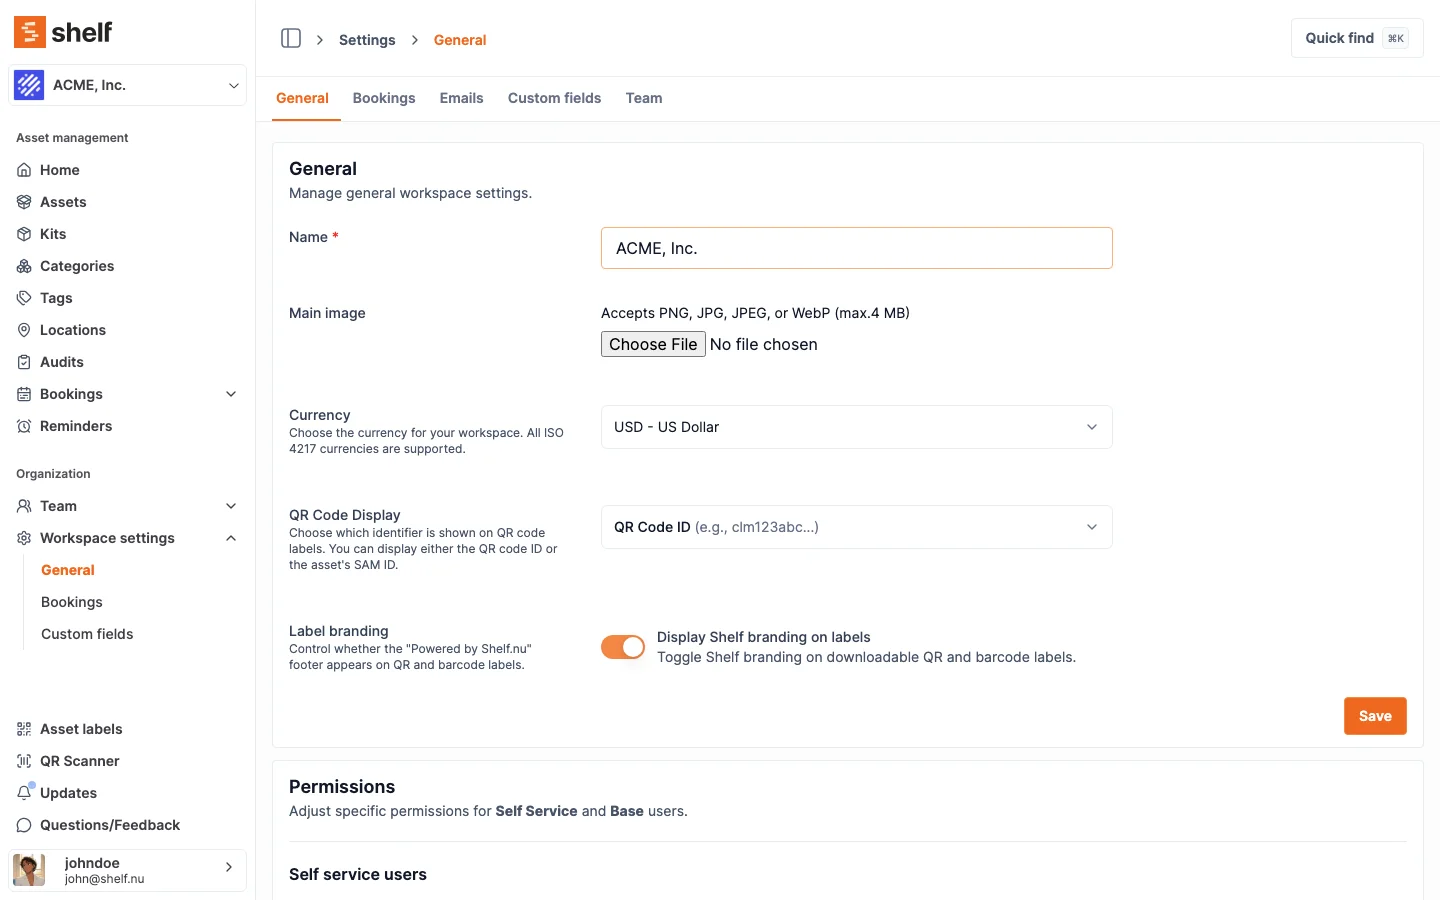
Modify the Name, Logo, and Currency for your workspace.
Steps:
- Go to Settings > Workspaces
- Click the Actions icon and choose Edit
- Make adjustments to Name, Logo, and Currency
Remove a Workspace
Removing a workspace is currently only possible by contacting support directly via email.
Ready to try Shelf?
Put what you're learning into practice. Free plan available — no credit card required.