

Adding New Assets
Populate your inventory with assets manually or import your full catalogue via CSV. Step-by-step for both workflows.
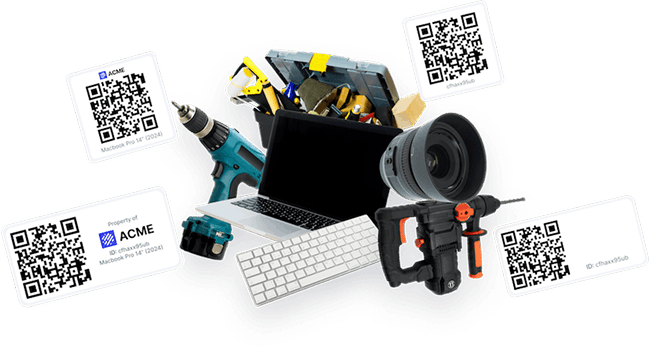
At the core of Shelf lies the concept of an Asset: a unique, tangible item in your inventory that you track and manage. Each asset carries its own metadata, status, usage history, custody, and any custom fields you've defined. Organising your equipment into assets is the first step toward knowing what you own, where it is, and who has it.
Two ways to get assets into Shelf:
- Add manually — best for small inventories, or for occasional one-off additions.
- Import from a spreadsheet — best for onboarding your existing inventory, or adding many items at once.
Adding Assets Manually
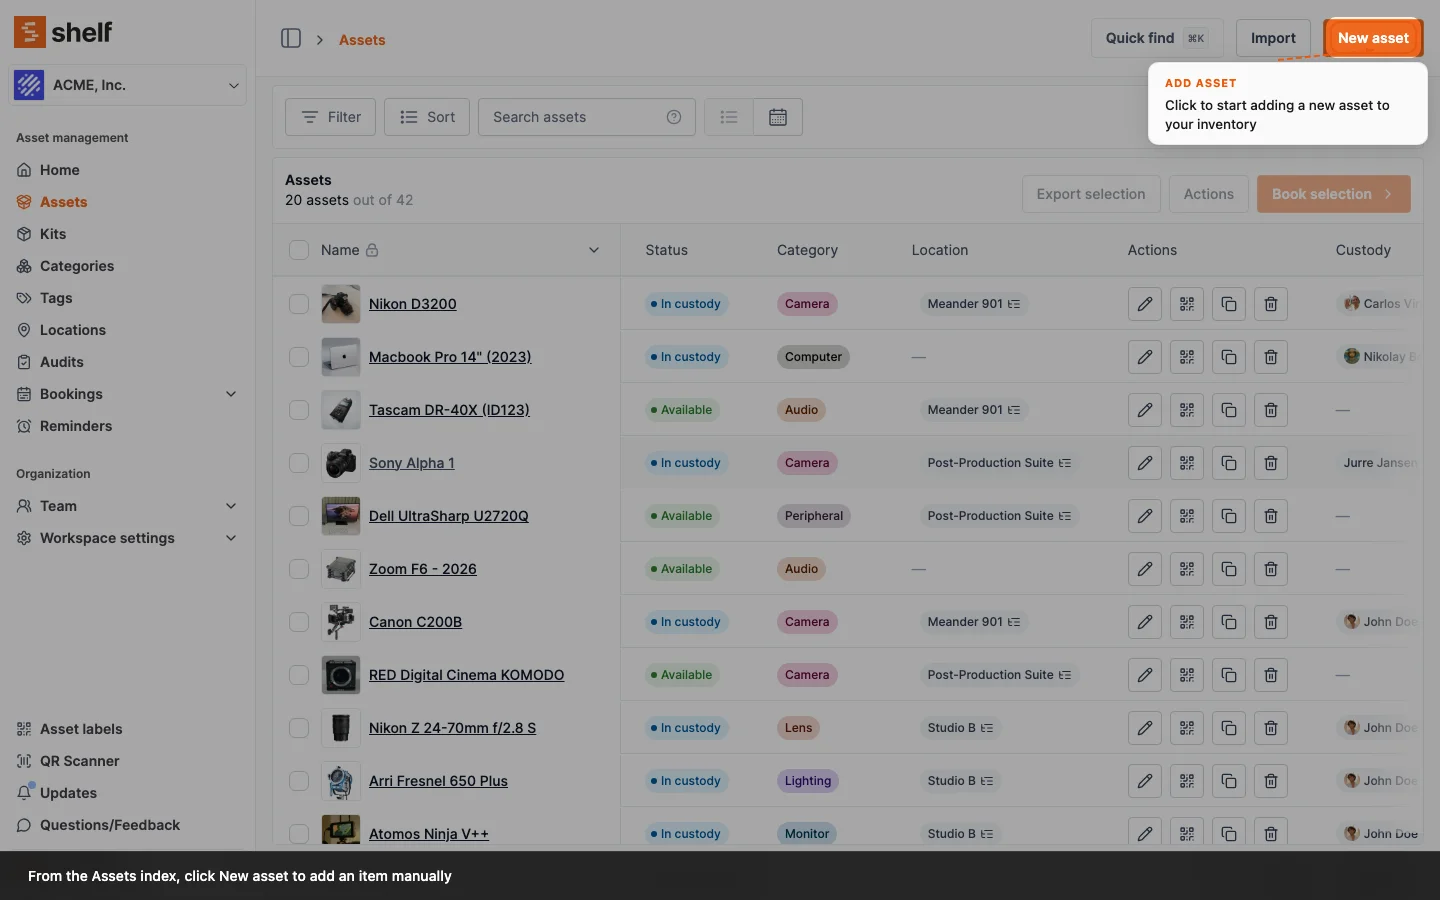
- Click Assets in the sidebar
- Click New asset
- Fill in a name
- Choose a tracking method — Individually tracked (one record per item, the default) or Tracked by quantity for fungible items you manage by count. Not sure which? See How to Choose a Tracking Method
- Upload an image or take a photo with your phone (optional). If the asset belongs to an asset model that has a cover image, you can skip this: the asset shows the model's picture until you give it one of its own
- Choose a Category, Tags, and/or Location (optional)
- Add a description (optional)
- Fill in any remaining fields, including custom fields you've configured for your workspace
- Click Save
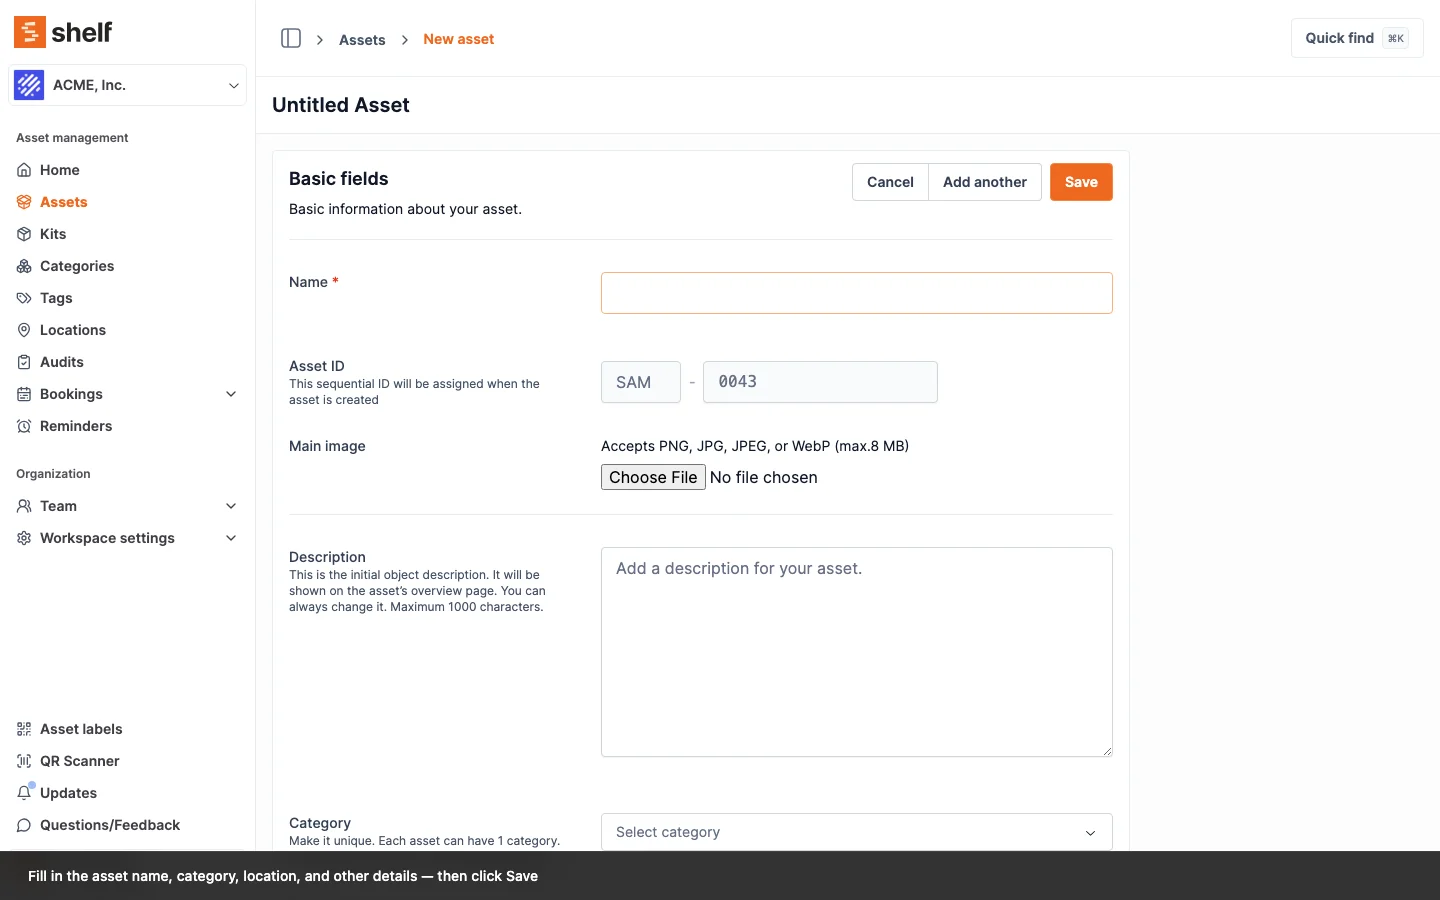
Custom fields are especially useful for capturing information specific to your business — serial numbers, purchase dates, warranty dates, internal references. See adding additional fields to assets for setup.
If you choose Tracked by quantity, the form adds fields for the quantity, a unit of measure, an optional low-stock threshold, and how the stock is consumed. This is the right model for supplies and consumables like cables, gloves, and fasteners — see Quantity-Tracked Assets and Consumables for the full walkthrough. Torn between the two? How to Choose a Tracking Method walks through the decision.
Importing Assets via Spreadsheet
For larger inventories, bulk import saves hours of manual entry. From the Assets index, click Import and upload a CSV.
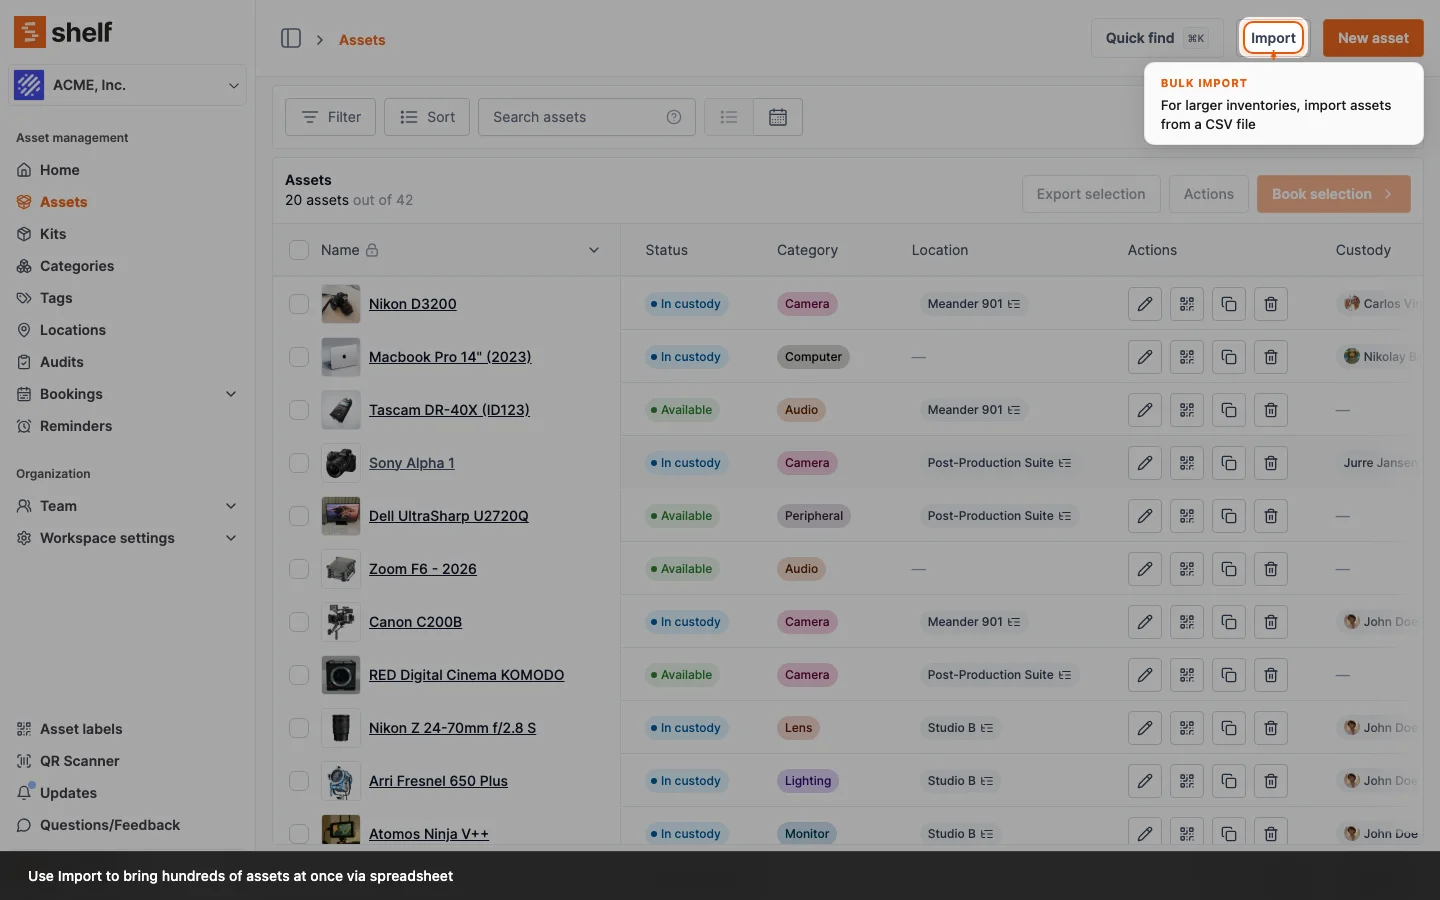
The CSV needs to follow Shelf's expected column format (including optional columns for custom fields, barcodes, and tags). Prepare your file, preview the import, and apply — Shelf creates one asset per row.
Full walkthrough including column reference and troubleshooting: Importing Assets to Shelf: CSV Guide.
Related Articles
- Quantity-Tracked Assets and Consumables — track supplies and consumables by count
- How to Choose a Tracking Method — decide between individual assets, Asset Models, and quantity tracking
- Adding Additional Fields to Assets — configure custom fields before a bulk import
- Importing Assets to Shelf: CSV Guide — complete CSV reference
- Bulk Updating Assets via CSV — edit existing assets in bulk
- Using Categories to Organize Your Asset Inventory
Ready to try Shelf?
Put what you're learning into practice. Free plan available — no credit card required.